TileCraft Bathroom Guides
How to Tile a Bathroom with Confidence
Follow a proven bathroom tiling method or let our specialists plan, prepare, and install every surface for a clean, waterproof finish.
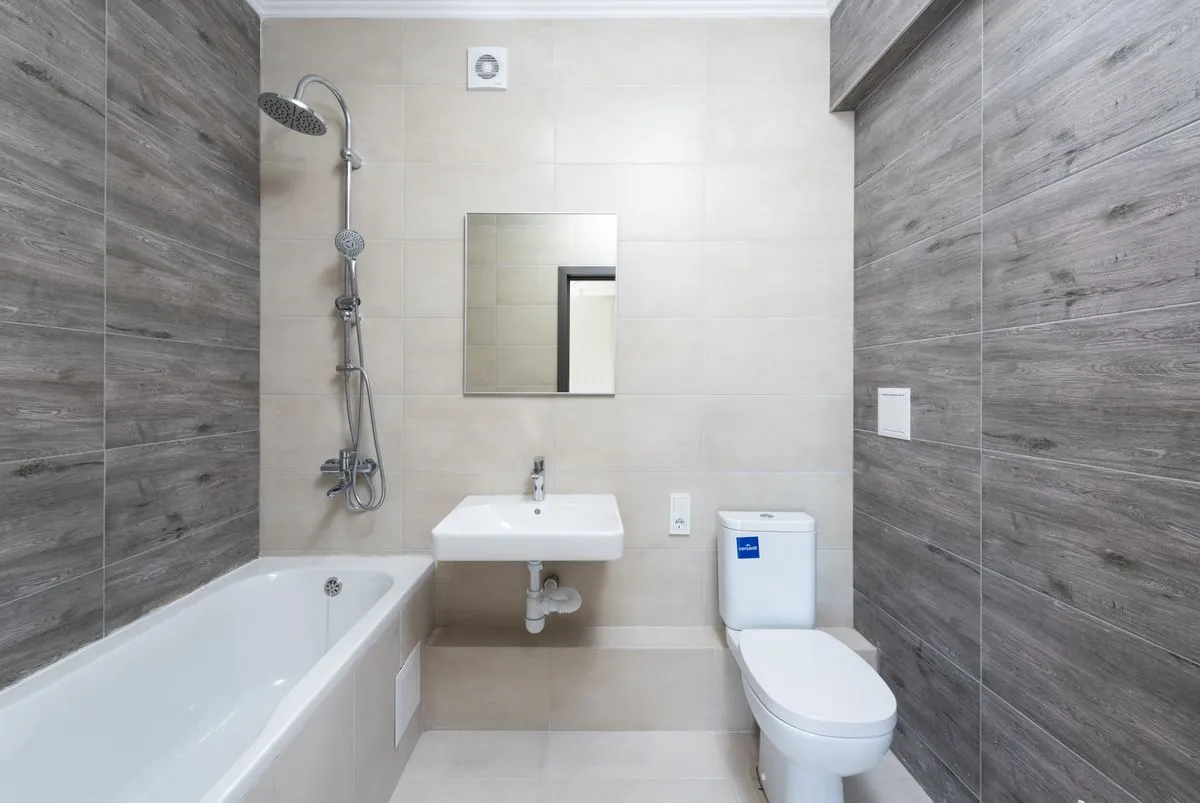
Follow a proven bathroom tiling method or let our specialists plan, prepare, and install every surface for a clean, waterproof finish.
Learning how to tile a bathroom starts with preparation, not adhesive. The surface must be flat, clean, dry, and strong enough to support the chosen tile. We explain how to check walls and floors, plan a balanced layout, and avoid the small mistakes that later cause cracked grout or loose tiles. Whether you are updating a compact powder room or a full family bathroom, a clear plan saves time and materials.
Our bathroom tiling approach combines practical instruction with careful installation. We measure each wall, mark a level starting line, select the correct waterproofing system, and calculate tile quantities with a sensible allowance for cuts and breakage. When homeowners search for how to tile a bathroom, they often focus on placing the first tile; we focus equally on substrate preparation, movement joints, drainage, ventilation, and long-term maintenance.
You can use this guide to understand the complete process before starting work or requesting professional help. We cover wall tiles, shower zones, floors, niches, trim, grout, and silicone joints in straightforward language. If the layout is complex, the room has moisture damage, or you need a precise finish quickly, our installers can complete the project while keeping the design, budget, and waterproofing details under control.
Our how to tile a bathroom process begins with accurate measurements and a dry layout. This reduces narrow edge cuts and keeps grout lines visually consistent around fixtures.
We treat waterproofing as essential, especially around showers, baths, and pipe penetrations. A beautiful bathroom tile installation is only reliable when moisture is kept away from the structure.
Walls, floors, shower pans, and niches may require different primers, adhesives, and membranes. We match products to moisture exposure, tile weight, substrate, and local installation requirements.
Professional wet cutting produces accurate edges around outlets, valves, corners, and drains. This is a key part of how to tile a bathroom neatly without chipped surfaces or oversized gaps.
We choose grout width and type according to the tile and location, then seal changes of plane with flexible silicone. These details help prevent staining, movement cracks, and recurring repairs.
You receive a written scope covering preparation, tile setting, grout, trim, and cleanup. That makes it easier to compare options and understand exactly what your bathroom tiling budget includes.
We measure the room, review tile sizes, and create a practical starting layout around doors, niches, drains, and fixtures. This service is useful when learning how to tile a bathroom before buying materials.
From $180We install ceramic, porcelain, and selected stone tiles on prepared bathroom walls with aligned joints and accurate corner details. The result supports a polished answer to how to tile bathroom walls correctly.
From $1,250We prepare shower surfaces, install a compatible waterproofing system, form clean falls, and set wall and floor tiles. Every pipe penetration and change of plane receives focused attention before grouting.
From $2,900We level minor irregularities, plan cuts around toilets and cabinets, and install slip-conscious floor tiles with the correct adhesive. This service gives homeowners a dependable, practical floor finish.
From $950We remove cracked or loose tiles, investigate the cause, repair the base where needed, and blend replacement pieces with the existing pattern. It is a cost-effective option for localized bathroom damage.
From $320We remove failing grout, clean joints, apply fresh grout, and replace worn silicone around baths, showers, and corners. The work refreshes the room while improving resistance to moisture and staining.
From $480We inspect the substrate, plumbing access, ventilation, moisture damage, and existing finishes. You receive practical recommendations before any tile or adhesive is ordered.
We measure every surface and mark reference lines to keep the installation level and balanced. The layout shows where cuts, trims, niches, and feature tiles will be placed.
Loose material is removed, uneven areas are corrected, and surfaces are primed according to the system being used. In wet zones, waterproofing is installed and checked before tiling continues.
Tiles are set with suitable adhesive, spacers, and controlled coverage. We cut around fixtures carefully and check alignment throughout the work instead of waiting until the final row.
After the adhesive cures, joints are grouted and movement areas receive flexible silicone. These finishing steps complete the practical answer to how to tile a bathroom for long-term use.
We clean the surfaces, check edges and joints, test drainage where relevant, and review maintenance instructions with you. The bathroom is handed over with a written care guide and final photos.
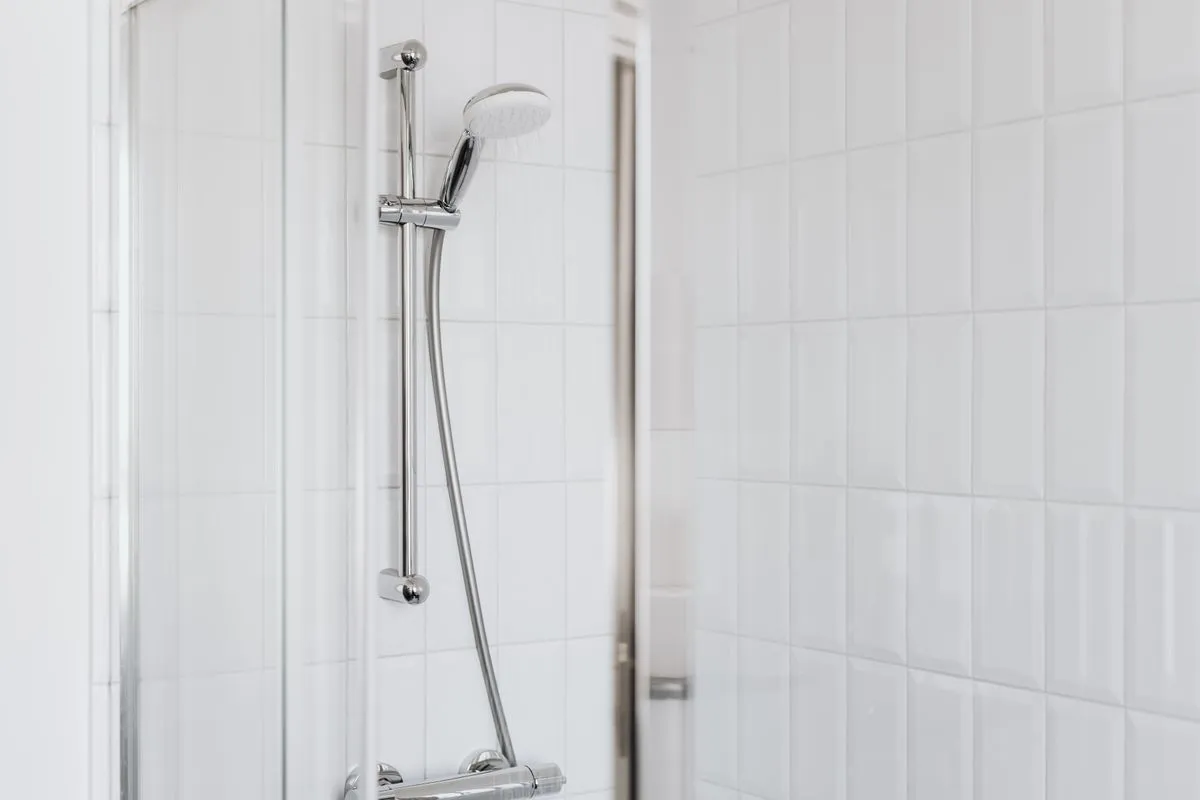
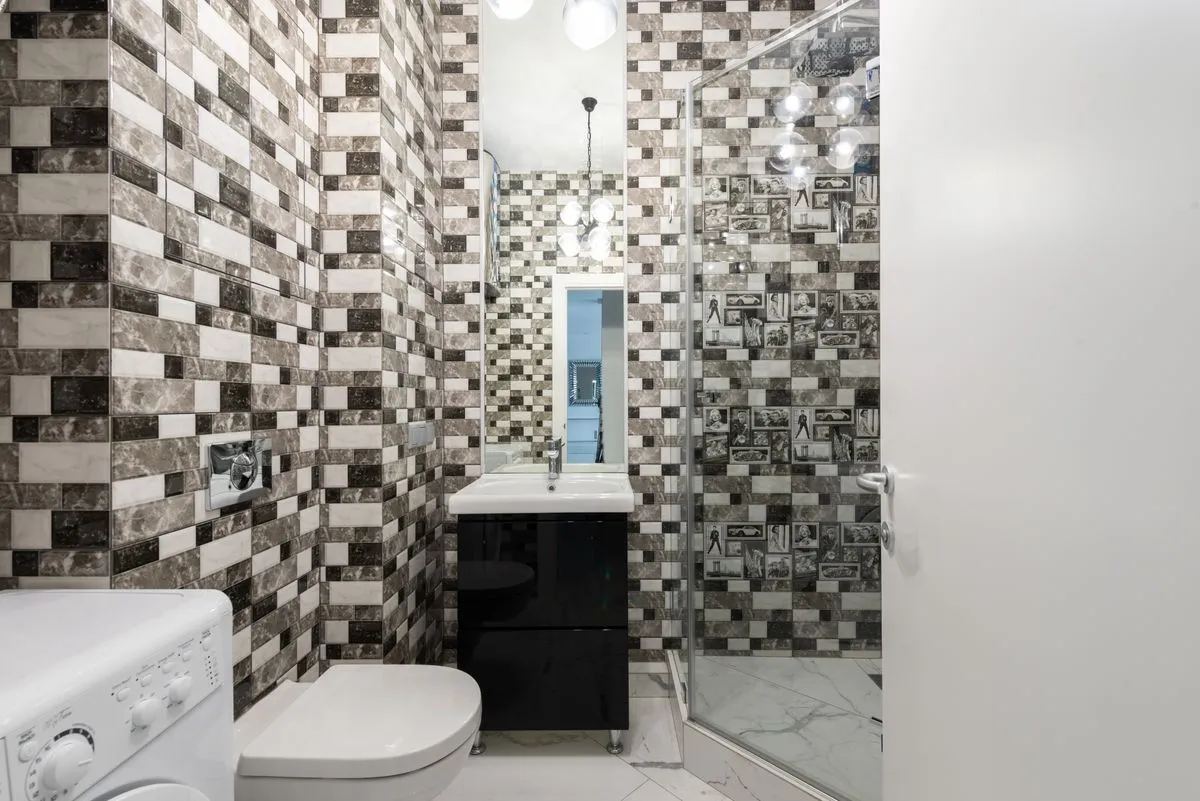
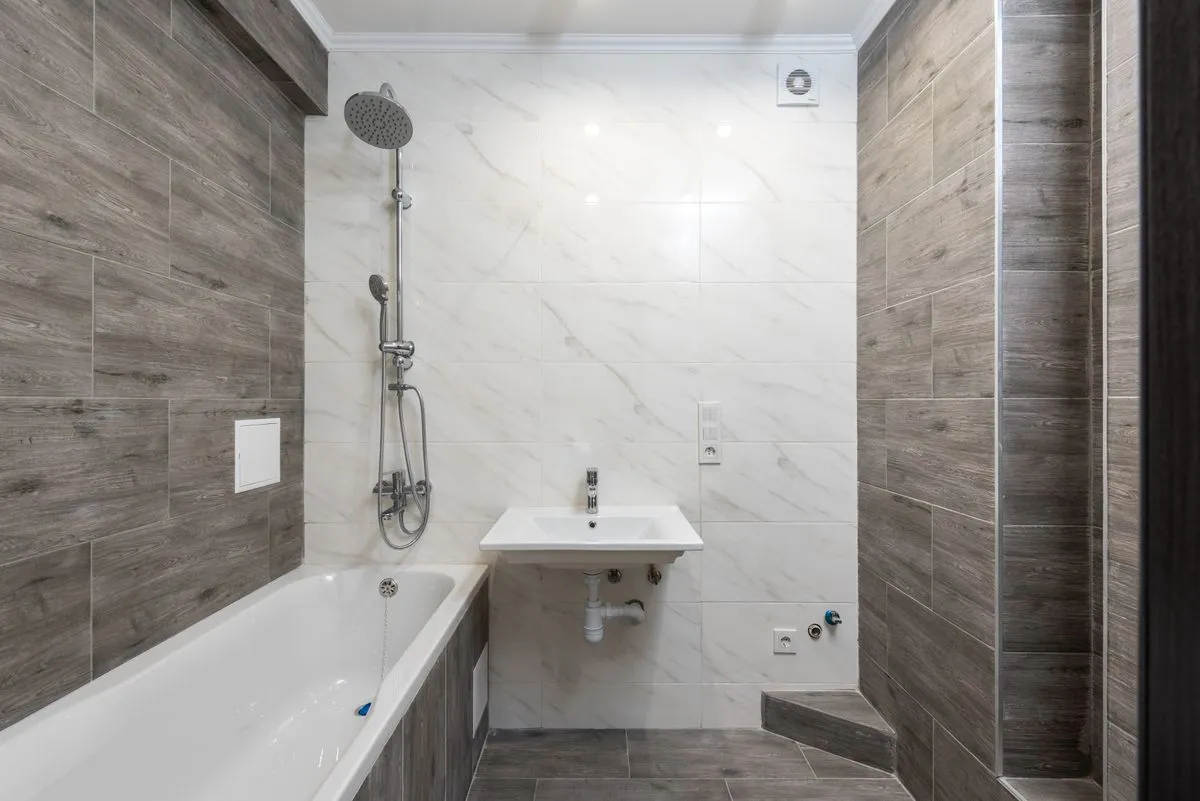
If you are searching for how to tile a bathroom, the first decision is whether the room is suitable for a DIY project or needs experienced installation. Small decorative areas may be manageable, but showers, floors, plumbing penetrations, and uneven substrates require more than placing tile on a wall. A successful bathroom tile installation depends on a stable base, correct waterproofing, suitable adhesive, accurate cuts, and enough curing time. Planning these details before work begins prevents expensive removal later.
The how to tile a bathroom process usually begins by removing old finishes and checking the substrate. Walls should be flat enough for the selected tile, while floors must be strong, clean, and sufficiently level for safe drainage. Cement board, approved backer systems, primers, membranes, and sealants must be compatible rather than selected at random. We also recommend measuring the room twice, adding approximately 10 percent for cuts and breakage, and confirming batch numbers so the finished color remains consistent.
Learning how to tile bathroom walls involves more than choosing a pattern. A level reference line helps keep rows straight, and a dry layout shows whether corners will finish with balanced cuts. Large-format tiles may need a flatter surface and specific handling, while mosaics require careful coverage to avoid visible dips. Around a shower, bath, basin, and niche, every joint should be planned before adhesive is spread so the result looks intentional and remains easy to clean.
Bathroom floors need their own strategy because they experience water, movement, cleaning products, and daily impact. When deciding how to tile a bathroom floor, choose a surface with appropriate slip performance and use an adhesive designed for the substrate and tile type. Drainage areas require accurate falls, especially in walk-in showers, and transitions to adjoining rooms should be finished with a durable profile. Flexible joints at corners and changes of plane are essential because rigid grout can crack when materials move.
A professional answer to how to tile a bathroom also includes maintenance after installation. Allow grout and silicone to cure fully, use the cleaning products recommended for the tile, and address cracked joints or loose pieces early. Our specialists provide layout advice, waterproofing, wall and floor installation, repair work, and final finishing across Portland and nearby communities. Contact us for a measured estimate, a realistic schedule, and a bathroom tiling plan built around your room rather than a generic package.
Yes, a confident DIY homeowner can handle a simple, dry wall area with good preparation and patience. However, how to tile a bathroom becomes more demanding when the project includes a shower, floor drainage, waterproofing, heavy tiles, or extensive substrate repairs. Mistakes in those areas can cause hidden moisture damage even when the surface looks attractive. If you are unsure about the base, plumbing penetrations, or product compatibility, a professional assessment is usually less costly than removing a failed installation.
Before bathroom tile installation, remove loose finishes, inspect for dampness, check that walls and floors are sufficiently flat, and confirm that the plumbing is positioned correctly. The surface should be clean, dry, structurally sound, and primed or boarded according to the chosen system. When planning how to tile a bathroom, measure the room and create a dry layout before mixing adhesive. You should also purchase enough tile for cuts and future repairs, ideally from the same production batch.
Not every dry bathroom wall requires the same wet-area system, but shower walls, bath surrounds, and other regularly splashed zones need appropriate waterproofing. Tile, grout, and adhesive are not a substitute for a properly installed membrane or approved backer system. A reliable how to tile a bathroom plan identifies water exposure before materials are selected. The exact method depends on the substrate, local requirements, shower construction, and manufacturer instructions, so do not treat one product as suitable for every surface.
Choose tile according to the room dimensions, surface condition, water exposure, maintenance expectations, and desired visual scale. Porcelain is often selected for durable floors, while ceramic can work well on many prepared walls; textured or small-format products may improve shower-floor grip. When researching how to tile a bathroom, remember that larger tiles need flatter surfaces and careful handling. We can compare samples, grout colors, edge profiles, and layout options before you commit to a full material order.
A straightforward prepared bathroom may take two to four working days for wall or floor tiling, while a complete room with waterproofing, repairs, niches, and large-format tile commonly takes five to nine days. The timeline for how to tile a bathroom also includes adhesive, grout, silicone, and waterproofing cure times. Removing old tile or correcting an uneven floor can add several days. We provide a written schedule after inspecting the room so the estimate reflects actual preparation rather than only the visible tile area.
For many bathrooms, purchasing about 10 percent more tile than the measured area is a sensible starting point. Complex patterns, diagonal layouts, small mosaics, large-format pieces, and rooms with many corners may need a higher allowance. A practical how to tile a bathroom calculation also considers future repairs, because a matching batch may be unavailable later. We calculate the quantity by surface and layout, then separate usable offcuts from pieces that should not be installed.
Cracked grout can result from movement in the substrate, insufficient adhesive coverage, moisture-related damage, incorrect joint preparation, or using rigid grout where a flexible sealant is needed. It may also indicate that tiles were installed before the base or adhesive had stabilized. Understanding how to tile a bathroom means separating normal grout maintenance from signs of a deeper problem. We inspect the affected area, check corners and changes of plane, and recommend repair only after identifying the likely cause.
Tell us about your room, tile choice, and deadline. We will explain the next steps, highlight preparation needs, and provide a clear estimate.